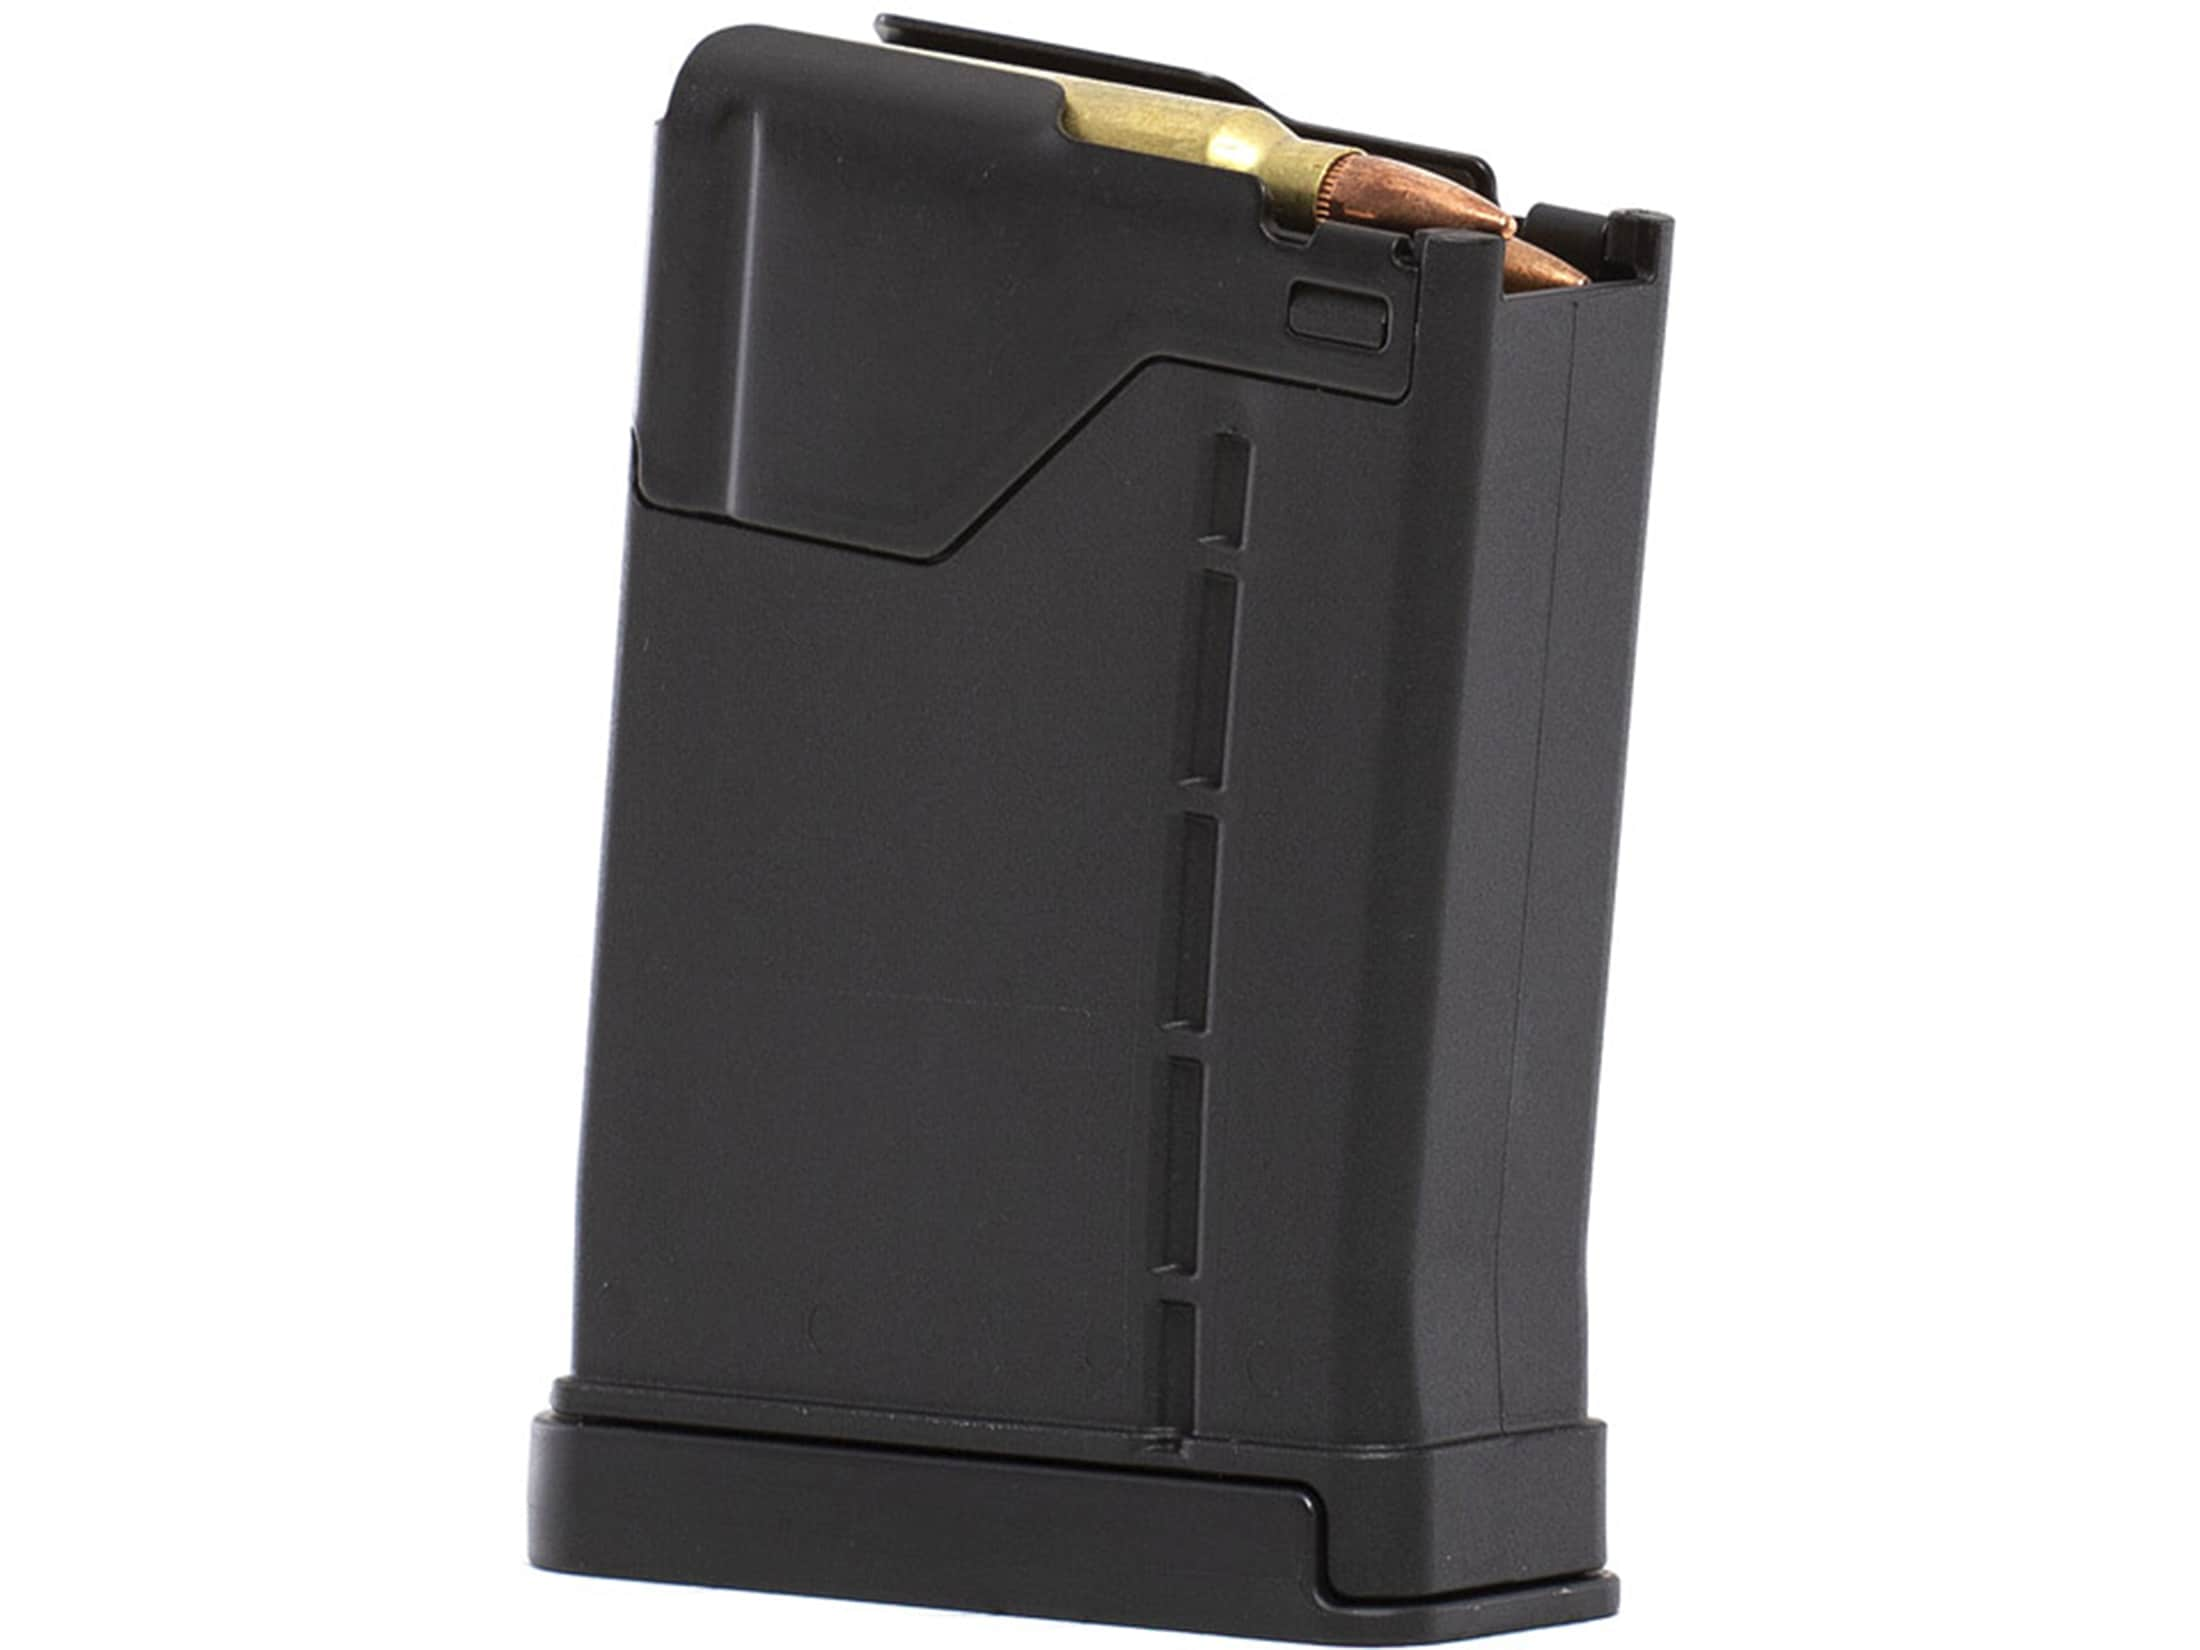
MagPul Modification for Bolt Action Rifles

Sharps40

Price, it's all about the price
Joined
Dec 18, 2016
Messages
2,600
Location
Pekin, NC.
Rating - 100%
32   0   0
OK. Photos all loaded now, takes a bit of time to do that on a hotspot with the nearest tower 18 miles away, even with a repeater on the house. Its hard to get under 94db for signal. But, modifying MagPul magazines for use in a bolt action rifle. Why? Because they are all too long, get hung up, stick out too far for low off hand carry and 5 shots is plenty when the deer and hogs are not shooting back.

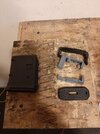
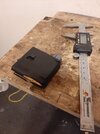
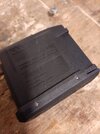
The 10 round version as received from shopruger.com.


20220615_121059.jpg

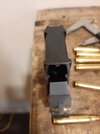
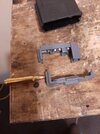
And here, disassembled for modification.

20220615_121149.jpg
 
Last edited:
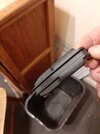
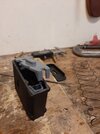
The Metrosexually (Superfulous) designed magazine cover that comes with the mags.

20220615_134445.jpg

Drop the cover in the trash can. I don't operate in a desert. It dosn't keep out dirt. It prevents visual check of the magazine. Its another part to keep track of. It prevents insertion of the magazine. See, Metrosexual.....tries to look good but ultimatly ... fail.

20220615_134455.jpg
 
Last edited:
I'll be setting this magazine up for 4 rounds plus one in the chamber for a hunting total of 5 rounds. First step, scribe a line parallel to the bottom of the mag and cut it off just below the lower buttresses.

20220615_121621.jpg
 
Last edited:
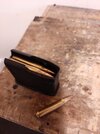
After dressing and deburring the bottom of the magazine, insert 6 rounds and a brad and the follower. Remove the protruding area of the front anti tilt that sticks out the bottom of the magazine.


20220615_122159.jpg

The lower insert will not fit now. The inner rib at the front of the magazine, the one the antitilt follower rides against is in the way.

20220615_122415.jpg

Slot the front edge of the lower insert to clear the rib in the front of the magazine.


20220615_123418.jpg
 
Last edited:
Assemble the magazine components, sans spring, and note that 4 rounds will NOT fit.

20220615_123632.jpg

Trim the upper rear of the lower insert, about 1/4".

20220615_123737.jpg

Reassemble all components, sans spring, and note that 4 rounds will fit, 5 will not. Perfect.


20220615_124044.jpg
 
Last edited:
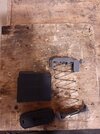
First clip of the factory spring is at 7 turns, if you don't like it that stiff, do what i did and cut off one more turn, finishing with 6 loops of spring. Finish the bottom turn so it can be reinstalled in the lower magazine insert.
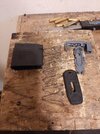
20220615_124257.jpg

With an .054" drill, slightly smaller than the diameter of the brad nails I'll use for pins, spot and drill pin holes through the magazine floor plate....transfer the holes to the magazine body. I drill through the front rib section and about the same distance in from the rear of the mag. That'll clear the locking tab in the middle of the lower insert.
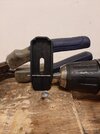
20220615_125540.jpg

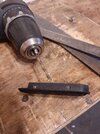
Chuck a brad in the drill and ream the holes in the floor plate and mag body to a snug fit. As you can see, its a good idea to file in recesses on the bottom side of the lower insert. About half way through is plenty, helps get the brads started when you have it all together under spring tension.
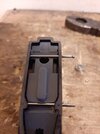
20220615_130551.jpg

The back end of the upper follower, set up for automatic rifles, e.g. bolt hold open. Don't need/like it that way, I want to be able to close the bolt on an empty mag.
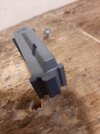
20220615_131121.jpg

Short work with files, sand paper and some 0000 steel wool rounds over the back of the follower so the bolt head can push it down and out of the way, thus allowing closure of the bolt on an empty mag. (I've had an open bolt fall out walking out of the woods.....it can't fall out if its closed....and if the empty mag is inserted in the gun, I won't loose the mag out of a pocket .... again....)
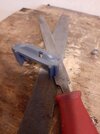
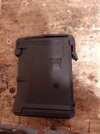
20220615_132401.jpg
 
Last edited:
Lightly countersink the holes in the floor plate.

20220615_132713.jpg


Deburr, clean and I dry lube all the internals. Ready for final assembly. (Note that mag spring is now 6 loops instead of the original 7. I loaded it with 7 and thought it needlessly stiff so, I clipped one more. Functions fine and its easirer to unload and the rounds don't make the loud snapping noise when I fill it up or top it off.)

20220615_132928.jpg

Assemble, insert the pins, trim off the excess pin length, add drop of CN Glue to the trimmed end, go to the railroad iron anvil in the shop and pean the trimmed end of the pin into the countersunk hole.....light taps to upset the end, don't miss and smash a finger or the magazine. Clean the heads of the pins, add a dollop of cold blue and the pins all but disappear.

20220615_134045.jpg
 
Last edited:
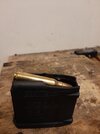
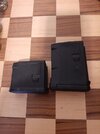
A factory 10 rounder for House duty, a modified 4+1 rounder for stalking game, tight tree stands and comfortable carry both on the gun or in a shirt pocket......havn't lost one out of a shirt pocket.....yet.

20220615_151310.jpg

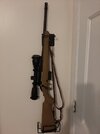
4+1 in the gun. Good function, good egronomics and lots prettier.

20220615_151325.jpg
 
Last edited:
Now if i could just figure out what kind of plastic it is, I have two cut off chunks and several of the cuteypie covers to experiment glueing and/or plastic welding with.....Maybe, eventually, I'll figure out a way to dispense with the pins.

And don't worry about the fact that the base plate no longer comes off....like any colt magazine just swarf it out with swizzelly juice from a straw can and when its dry, add some more dry lube if you like.....remember, you don't live in a desert so .... it'll prolly never need cleaning out.
 
Last edited:
Now if i could just figure out what kind of plastic it is, I have two cut off chunks and several of the cuteypie covers to experiment glueing and/or plastic welding with.....Maybe, eventually, I'll figure out a way to dispense with the pins.

And don't worry about the fact that the base plate no longer comes off....like any colt magazine just swarf it out with swizzle juice from a straw can and when its dry, add some more dry lube if you like.....remember, you don't live in a desert so .... it'll prolly never need cleaning out.
Are there any triangles with numbers inside them?
 
Don't know, I'll have to look. I assume its glass filled nylon of some kind, thats notorious for rejecting epoxy and other "glues".....and plastic welding too. I might try some Acetone and shavings to see if it softens it up and welds like ABS, heck, i even have some pvc and cpvc primer and cement to try out.....be wondermuss if hardware store pipe glue did the trick.
 
Last edited:
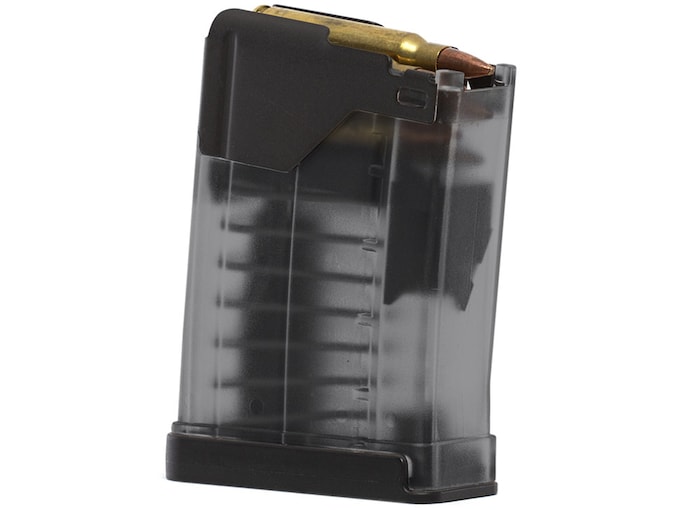
Did you know, Lancer has a 5 rd mag, with multiple color options?

646883.jpg


Last edited:
Last edited:
Experiments this AM are yielding some good info.

Mags are marked 2 but no triangle. So assuming it's HDPE Plastic I cut a chunk and proceeded with glues.

Scuffed both surfaces with 120 grit and cleaned.

Pvc and cpvc pipe glue was a total fail.

However 10 minutes in with good old gorilla 2 part epoxy and it appears to be bonding nicely. In a few hours I'll try to rip it apart.
 
Last edited:
Sorry. I got interested in a movie and a banana split and totally forgot about ya'll.

So gorilla glue. Tons of strength for straight pull, no shear at all. I'll load the video this am.


For mag use. I think it'd be OK with pin backup but I still want to try some other specic products ... after vacation.
 
Last edited:
So, first test was glue and primer for PVC and CPVC....fail.

Second test was run of the mill 2 part epoxy, in this case, Gorilla Brand. Partial success. I didn't give it 24 hours and the shear left epoxy on both surfaces. So, I'll have to try again and let it have the full 24 hours cure time that all 5 minute epoxies actually need and test it again.

There are HDPE glues and primers but a quick check indicated that primer for using CN instant glues was about $100 per ounce...so, not an option for a couple mags in an experiment.

Heres the video on the first test of Gorilla epoxy....

 
To weld the plastic you need a shit hot solvent, Lowe's sells MEK by the gallon, if that doesn't melt the seam, then there's nothing short of heat that's going to get the job done.
 
Back
Top Bottom