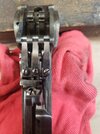
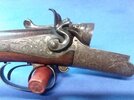
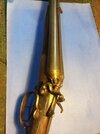
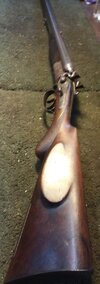
Old German drilling (3 barrels) getting TLC. Update 11/4, in the field.

cold1

Member
2A Bourbon Hound 2024
Benefactor
Supporting Member
Multi-Factor Enabled
Joined
Dec 19, 2016
Messages
2,547
Rating - 100%
9   0   0
I picked up a German drilling last month from our favorite SXS guru @NiceOldDouble. I've always been fascinated by these guns but never come across one I was willing to pay the price for, until last month.

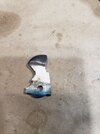
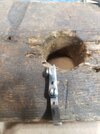
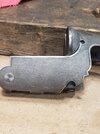
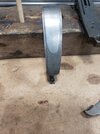
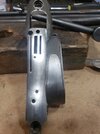
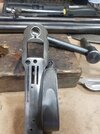
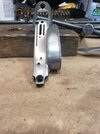
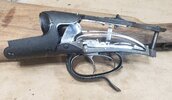
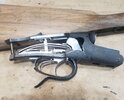
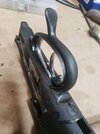
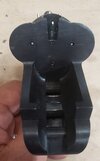
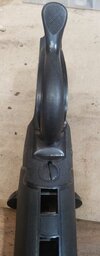
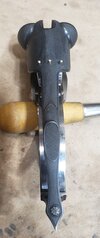
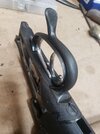
I knew this gun had a few issues that I want to take care of but nothing major was wrong with it. I get it home and start working out how the triggers operate. It has 2 triggers just like a standard double barrel but it has 3 barrels. As I am working out the operations, I notice that one of the cooking indicators has stopped popping up to indicate that the hammer is cocked. The hammers are internal. A week or so later I get the time and courage to disassemble the gun. I found that the hammer that fires the rifle barrel has broken in to two pieces.
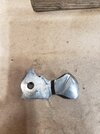
20230527_151410.jpg

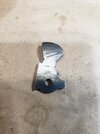
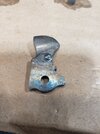
This is a 100+ year old gun that was made in a pre war cottage industry and parts are hard to come by. So a lot of head scratching a prayer and a welder I managed to weld it back together.
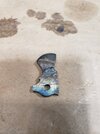
20230527_162743.jpg

20230527_162747.jpg

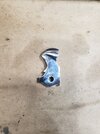
A little file work
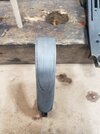
20230528_151413.jpg

20230528_151418.jpg
 
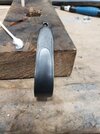
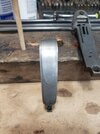
Due to the welding, I had to retemper the full cock notch. I had used a 3 corner file to test the hardness of different areas of the hammer. The sear notch area was the only area where the file had a hard time biting in. So I heated that area up to cherry red and quenched in oil. I then drew the temper down to a wheat color and tested the hardness with the file again.

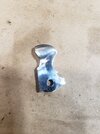
Once that was done, I set about sanding and polishing.

20230528_180443.jpg

20230528_180449.jpg

I'm pretty happy with the results.
 
This is a blitz action, most of the moving parts are on the trigger plate.

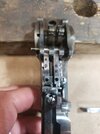
I am intimidated to disassemble the trigger section because it has many small moving parts and plenty of flat springs that would be extremely difficult to replace. But I went ahead and jumped in. I took pics every step of the way. I marked every part and took a pic when each piece was removed. I'm not going to post every pic but here are a select few. I've already removed the main springs to get this far.

3 sear springs

20230529_111326.jpg

Sears springs removed and one sear removed.
20230529_112608.jpg

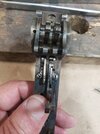
Sears removed, safety removed, just triggers, trigger springs, rifle selector and the front trigger reset left.
20230529_113447.jpg

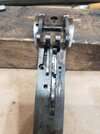
Just the triggers.
20230529_115133.jpg
 
This is the neat way that the front trigger is disconnected from the shotgun sear so that the same trigger can activate the rifle barrel.

When the barrel selector is pushed forward, the selector pushes the thingamabob over and the trigger cannot make contact with the shotgun sear.

20230529_112552.jpg
 
I salute your courage venturing into those uncharted waters. Seems to me that the older German guns were designed to have as many pieces as possible.
I have an older German drilling that @NiceOldDouble has 'bout convinced me to rehabilitate. It's third in line behind the Davis and Barker. Bill gave me some good tips last week that will save me lots of time so hopefully I can get to it next month.
 
@Bahamadon i can't wait for you to jump into that drilling, it going to be a fun ride. Yes, the Germans are known for making things complicated and this drilling doesn't disappoint in that area. I have to say though, inspecting the machine work inside this thing is amazing. I dont think there are too many machinists alive today that could make one of these on the machines the original makers used. There are minimal machining marks, some of the work I can't figure out how they did it without edm.
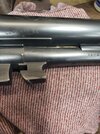
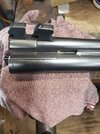
I've got a few things that I will have to get Bills help on, mostly stock reconditioning and raising a dent in one of the shotgun barrels. The horn butt plate I may send off to have repaired and rechecked. Don't know if I will or not yet.
 
Yes , I feel like Forrest Gump and his box of chocolates. Who knows whats in there? Guess I could do some research but some times the surprise is fun. Mine is a hammer gun , so maybe a few less parts. But the machining of those parts is intense. I'll post some internals when I get started. Here's a few external 20191206_121345.jpg20191206_125042.jpg20191210_142758.jpg
 
@Bahamadon Top lever switches to the rifle? Makes the rifle sight pop up?

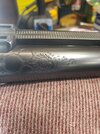
I love the engraving on yours. Mine doesn't have the nice engraving, it has a finish similar to stipling on the receiver. I like to think that it is a more utilitarian finish to keep reflections down.
 
@cold1 Exactly. Top lever rifle switch, side lever barrel break.
And yeah I really like al that engraving.
It's a 16 ga and I forget what caliber the rifle is. I've never shot it. Hope to remedy that soon.
 
Here is the texture of mine. This is after cleaning with a toothbrush and soap, ultrasonic cleaning and finally a dremel with wire brush and soapy water. Lots of old dried up oil and gunk in the crevices.

20230530_200552.jpg


Close up

20230530_200616.jpg
 
I have a thing for shotgun/rifles, I got a 223/20 308/12g 30-06/12g 22lr/20g. View attachment 624876

Mine is a 16x16 with a 9.3x72r. The shotgun barrels are nitro proofed (modern ammo) but the rifle doesn't have a nitro proof so will have to stay with black powder equivalent loads.
 
I've been doing some rust and pit removal and some experimenting this weekend.

The original finish on the gun is French grey. You usually see that finish on English SXS with engraving. Looks similar to and old worn coin color. Like Bahamadons pics above.

Ive never attempted to do French Grey before so I did a little research and started experimenting with some pieces. One thing that there wasn't a straight answer for was whether the item needed to be rust blued prior to graying it. I tried one piece without bluing and its so-so.

I rust blued the trigger guard with the intention of graying it, but it turned out better than I expected. Since the receiver doesn't have any engraving, just the texturing, I may blue the entire thing. I'm not sure yet bet definitely leaning that way.

Here is a pic of the trigger guard and the textured area after bluing. Whats everybody's thoughts on it?

20230605_153133.jpg
 
Last edited:
So I continued with the graying test this evening. The trigger guard was finished to 400 grit sandpaper and then slow rust blued with Mark Lee rust bluing. It was about 5 rustings to get the color.

Today I used naval jelly to remove the bluing.

20230609_185335.jpg

I used 0000 steel wool to polish it up and blend the streaks in.
20230609_190343.jpg

I dont have a carding wheel so I improvised and wrapped the steel wool around a mandrel on the dremel tool and gave it a powered polish.

20230609_190353.jpg
 
Here is the two test pieces, the trigger guard and the trigger plate. The trigger plate was finished to 800 grit, express rust blued, and then naval jellied. The finish was just a less bright white. Tonight I sanded it back to 400 grit and let the naval jelly sit for about an hour.

I do believe that on this receiver, it will need to be slow rust blued, steel wooled, and then jellied to get a nice grey finish. The slow rust blue seems to be needed to give the proper color.

20230609_205652.jpg


20230609_205702.jpg

20230609_205707.jpg
 
You are swimming in much deeper water than I have ever been in. Looks great.
 
Opps, haven't updated this in a while.

I slow rust blued the receiver and I like the looks of it compared to the French gray look. Since there isn't any engraving, just the stipling, im going leave it blued.

20230818_193330.jpg

20230818_193309.jpg

20230818_193623.jpg

20230818_193530.jpg
 
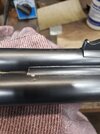
I've been working on the barrels the past weeks. It has been an eye opening experience. No major pitting in them but pits most everywhere. Using files and sand paper to get that taken care of and polished it to 800 grit. Started rust bluing Saturday and finished the 6th bluing this afternoon. There are a lot of nooks and crannies on 3 barrels and I managed to get them cleaned up enough to see all the solder lines. I thought it was neat the way these barrels are put together so I took a few pics.
20230919_164243.jpg

20230919_164253.jpg

20230919_164314.jpg

20230919_164342.jpg

20230919_164346.jpg

20230919_164431.jpg
 
Beautiful work both by you and by the original craftsmen. Thank you for sharing your work .

 
Here is the texture of mine. This is after cleaning with a toothbrush and soap, ultrasonic cleaning and finally a dremel with wire brush and soapy water. Lots of old dried up oil and gunk in the crevices.

View attachment 624855


Close up

View attachment 624856

Any ideas how they formed that texture? Pressed in, or peened or... ? Who said "stippling" is for plastic pistols only ?
 
You are really tempting me to refinish mine. It's in pretty good shape with original metal and wood but the transformation of yours is really impressive. Great work !
 
New skill acquired, kinda..

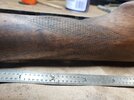
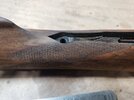
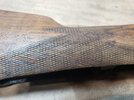
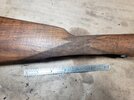
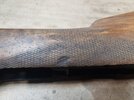
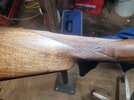
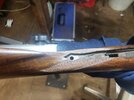
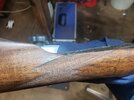
Since the metal work is done it was time to move on to the wood ware. The stock had seen some use and it had flat checkering on it. I knew I could do the refinish but checkerung was another story. I asked around and got a few quotes on recutting the checkering and the quotes just were not in the budget. I dont doubt that the prices quoted were fair and the work would date been great, it just wasn't in the budget.

I already had some checkering tools I received as gifts a few years ago but I never took the time to develop the skill. I decided it was time to work on learning how to checker. I spent about 15-20 hours practicing on an old forend I had laying around. I think I checkered and sanded it all off and checker again about 6 times before I decided to tackle the stock.

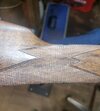
I had to get the correct cutters and checkering cradle. I ordered some 24LPI spacing cutters from gunline and a cradle from midway. I tried to follow the existing checkering lines but I found out that even a slight difference in the difference between two cutters will add up and create a huge change in the lines actually lining up.

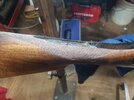
Anyway, many hours later and many mistakes I was finally able to say that the stock is checkered. Don't look too close or you'll see the mistakes.

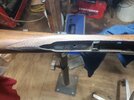
Before pics
20230831_201345.jpg
20230831_201311.jpg

20230831_201259.jpg
20230831_201254.jpg

20230831_201331.jpg
 
NICE looking from the pictures. Still want to borrow a cradle? Going to start checkering for others (aka me?).

Pics do look good but don't enlarge them. šŸ¤£

Im not ready for prime time checkering yet.

Thanks for the offer of the cradle but I went ahead and purchased one. I figured if I could checker this one there were a few others in my collection that could use it too. I've been thinking real hard about checkering my Marlin 1895.

Got any checkering tools you don't need?
 
Last edited:
Beautiful work on that checkering. You may fallen down a rabbit hole. Very impressive.
 
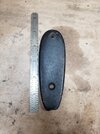
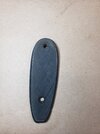
Recheckering the Horn butt plate.

I haven't attempted to repair the bottom section yet.

Before
20230831_201440.jpg

After
20231025_183342.jpg
 
Last edited:
Back
Top Bottom